Running Home Assistant on Proxmox — The Right Way
Moving Home Assistant from Raspberry Pi 4 to a Dell OptiPlex 7060 on Proxmox VE — VM sizing, USB passthrough, and why snapshots changed how I handle updates.
My Home Assistant setup had been running on a Raspberry Pi 4 for two years when, on a Wednesday evening in October, I came home to find it dead. The SD card had silently corrupted itself. No warning. No graceful shutdown. Just a cold house and nothing working.
I’d been meaning to migrate to proper hardware for months. That evening I finally ordered the OptiPlex 7060.
Why Proxmox Instead of Running HA Directly
The obvious move would be installing HA OS directly on the OptiPlex. I chose Proxmox instead because I wanted the OptiPlex to be a full home server, not just a HA box — running multiple VMs and containers alongside Home Assistant.
The other reason: snapshots. Before every HA update, I take a Proxmox snapshot. If something breaks, rolling back takes 10 seconds. On the Pi, a bad update could mean an hour of recovery work.
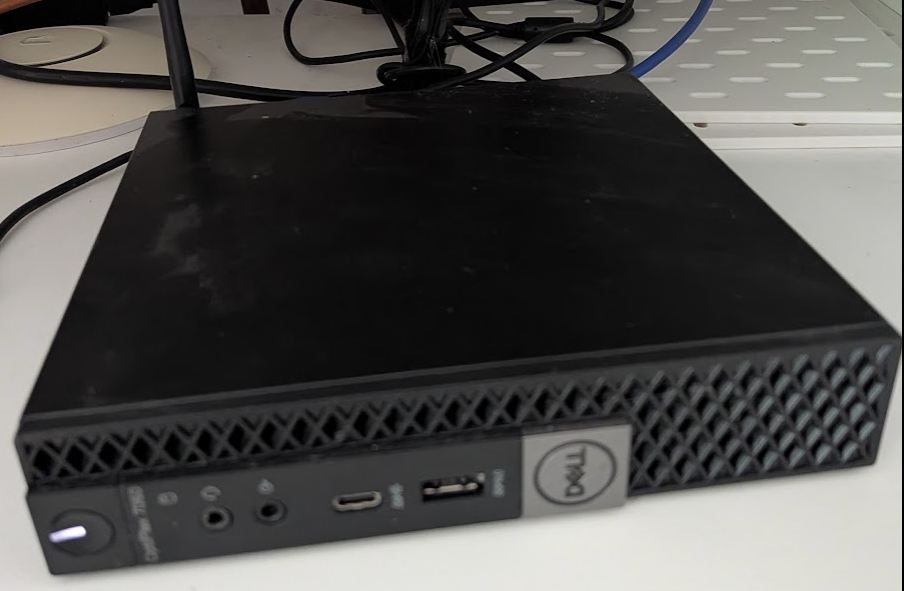
Hardware: Dell OptiPlex 7060 as Home Assistant host
I picked up a refurbished OptiPlex 7060 for under €150 on eBay. It came with 16 GB RAM which I immediately upgraded to 32 GB — 8 GB sticks were €12 each and the OptiPlex takes them easily.
| Component | Spec |
|---|---|
| CPU | Intel Core i5-8500 (6 cores) |
| RAM | 32 GB DDR4 |
| Storage | 500 GB NVMe SSD |
| Network | Intel I219-LM |
The i5-8500 is completely overkill for Home Assistant. That’s fine — it means the whole machine idles at around 12W and I still have headroom for a media server, ad blocker, and a monitoring stack running in parallel.
Installing Proxmox VE
Download the Proxmox VE ISO from proxmox.com, flash it to USB with Rufus or Balena Etcher, and boot the OptiPlex from it.
The installer is straightforward. Things worth paying attention to:
- Target disk: pick your NVMe SSD, not any USB stick still plugged in
- Management IP: give it a static IP now — you’ll be accessing the web UI at
https://YOUR-IP:8006from that point on - Hostname: I use
proxmox.local— easy to remember, works with mDNS
After install, the first thing to run is the Proxmox post-install helper from community-scripts.github.io/ProxmoxVE — a community-maintained collection of scripts for Proxmox. The post-install script removes the subscription nag, switches to the free repository, and applies sensible initial settings:
bash -c "$(wget -qLO - https://github.com/community-scripts/ProxmoxVE/raw/main/misc/post-pve-install.sh)"Creating the Home Assistant VM
The same community-scripts collection includes a script that fully automates the HA OS VM — it downloads the latest image, creates the VM with sensible defaults, and boots it:
bash -c "$(curl -fsSL https://raw.githubusercontent.com/community-scripts/ProxmoxVE/main/vm/haos-vm.sh)"I use these resource settings:
RAM:   4096 MB
Cores: 4 vCPU
Disk:  32 GB (expandable later)
Net:   VirtIO bridge (vmbr0)
One optional but useful script from the same collection: the CPU scaling governor. It lets you lock the CPU to performance mode rather than letting the OS downclock it, which helps keep HA response times consistent:
bash -c "$(curl -fsSL https://raw.githubusercontent.com/community-scripts/ProxmoxVE/main/tools/pve/scaling-governor.sh)"4 GB RAM sounds like a lot for HA alone, but add-ons eat memory fast. Running the full stack — HA OS, Matter server, Mosquitto broker, Studio Code Server, and a few more — I typically see 2.5–3 GB in use.
USB Passthrough for Zigbee/Z-Wave Dongles
If you use a USB radio stick (Zigbee, Z-Wave, Bluetooth), you need to pass it through to the VM rather than having it available to the Proxmox host.
In the Proxmox web UI:
- Select your HA VM → Hardware → Add → USB Device
- Choose Use USB Vendor/Device ID and select your dongle from the list
- Reboot the VM
The device appears in HA’s hardware settings as if it were directly connected. This survives Proxmox reboots — the VM gets the device automatically on startup.
One thing that tripped me up: if you select by USB port instead of vendor/device ID, the passthrough breaks whenever you plug the dongle into a different USB port during maintenance. Always use vendor/device ID.
First Boot
Once the HA VM is running, navigate to http://homeassistant.local:8123 and complete the onboarding wizard. Takes about 2 minutes from first boot to the dashboard.
My first integrations after setup:
- WiZ — auto-discovered on the local network immediately, all 22 bulbs appeared without any configuration
- UniFi — integrated for device tracking and network stats, essential for knowing who’s home
- Tado — climate system, 5 zones, discovered after entering credentials
The network auto-discovery in HA 2024 is genuinely impressive. Most things found themselves within the first few minutes.
The Snapshot Workflow
This is the part that changed how I handle HA maintenance. Before every HA update:
Datacenter → HA VM → Snapshots → Take Snapshot
Name: pre-update-YYYY-MM-DD
The snapshot takes under 30 seconds. If the update works fine, I delete the snapshot a day later. If something breaks — and with 30+ integrations, something occasionally does — I roll back in 10 seconds and the house is back to its previous state.
On the Raspberry Pi I was always slightly nervous about updates because recovery was slow and painful. With Proxmox snapshots, I apply updates the day they drop without any hesitation. Pair this with automated nightly tests against your live Home Assistant instance and you’ll catch broken integrations before you actually need them.
What moving to Proxmox actually solved
Three years on the Pi meant three SD card replacements and two corruption events. The OptiPlex has been running since late 2022 without a single hardware incident. The NVMe SSD doesn’t care about power cuts. Proxmox writes to journaled filesystems. The Pi was never the right tool for infrastructure that controls heating, security cameras, and EV charging — it just happened to be cheap and easy to start with.
The OptiPlex also gave me room to grow. The HA VM sits on the same host as a Debian VM running my self-hosted GitHub Actions runner, a Home Assistant Supervised container for testing, and a few other lightweight services. All for €150 hardware and 12W at the wall.